
Homemade Beef Jerky ✺
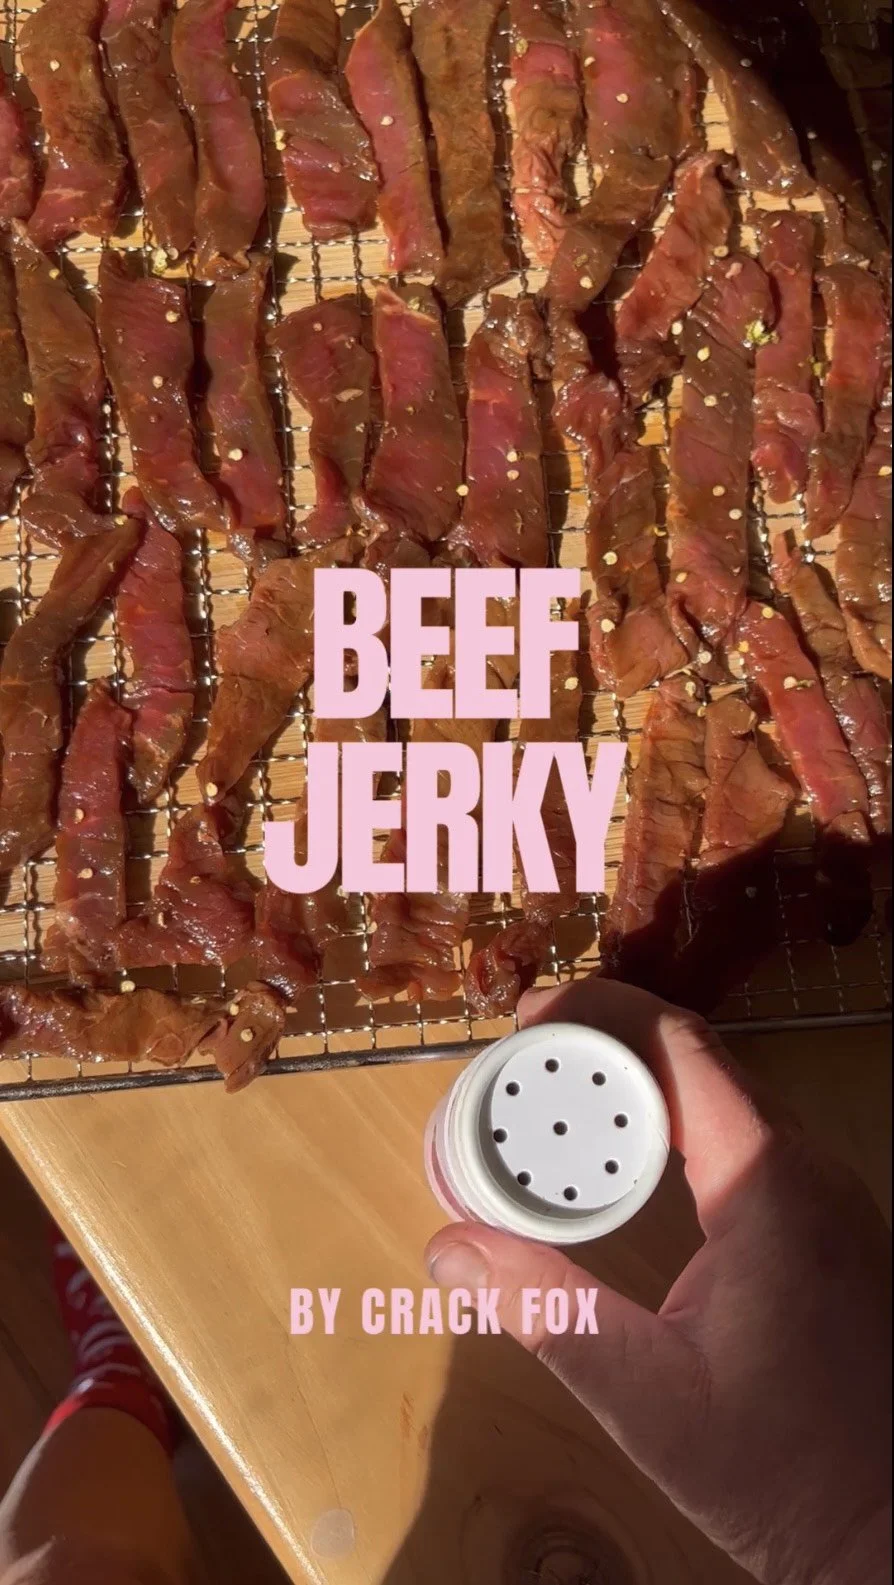

Beef Jerky at home. In the oven. No fancy gadgets, no nasties. Sharing my no fail recipe!
Beef Jerky is expensive! Get the good clean stuff and you get a tiny wee packet with like 4 strips in there. Get the cheap stuff and its like eating Schmackos. Both are wacko so I’m gonna show you how to make it at home!
a lot simpler to make than you think. It makes the perfect satisfying snack - full of iron and protein to curb those hunger cravings between meals (yes please!) A winning lunchbox snack for the kiddoes. And the cutest yet impressive homemade prezzie to give out to your loved ones!
It’s easy, it just takes time — 5 hours in the oven on low. And 1 night of marination prior.
There are endless flavour combos you can try with jerky, this is just my classic no fail combo. Use this recipe as a base, and add to, or take out to your palette’s desires if you like.
I like to do a “Jerky Day” with my kids each school holidays and let them come up with their own flavour. I set all the ingredients out on the bench and let them go to town — encouraging them to taste their marinade as they go like any good chef! My 4 year old made pineapple-flavoured beef jerky this year. It actually wasn’t half bad.
The secret to a good marinade? It isn’t just about the flavour, it’s also about tenderisation and penetration ;) ! A lot of recipes online just use all powered ingredients and pre-bought sauces. This is limiting to the result. I like to use a combination wet and powdered ingredients, and fresh and dried produce — as in actual fresh herbs, and fresh garlic (instead of garlic powder).
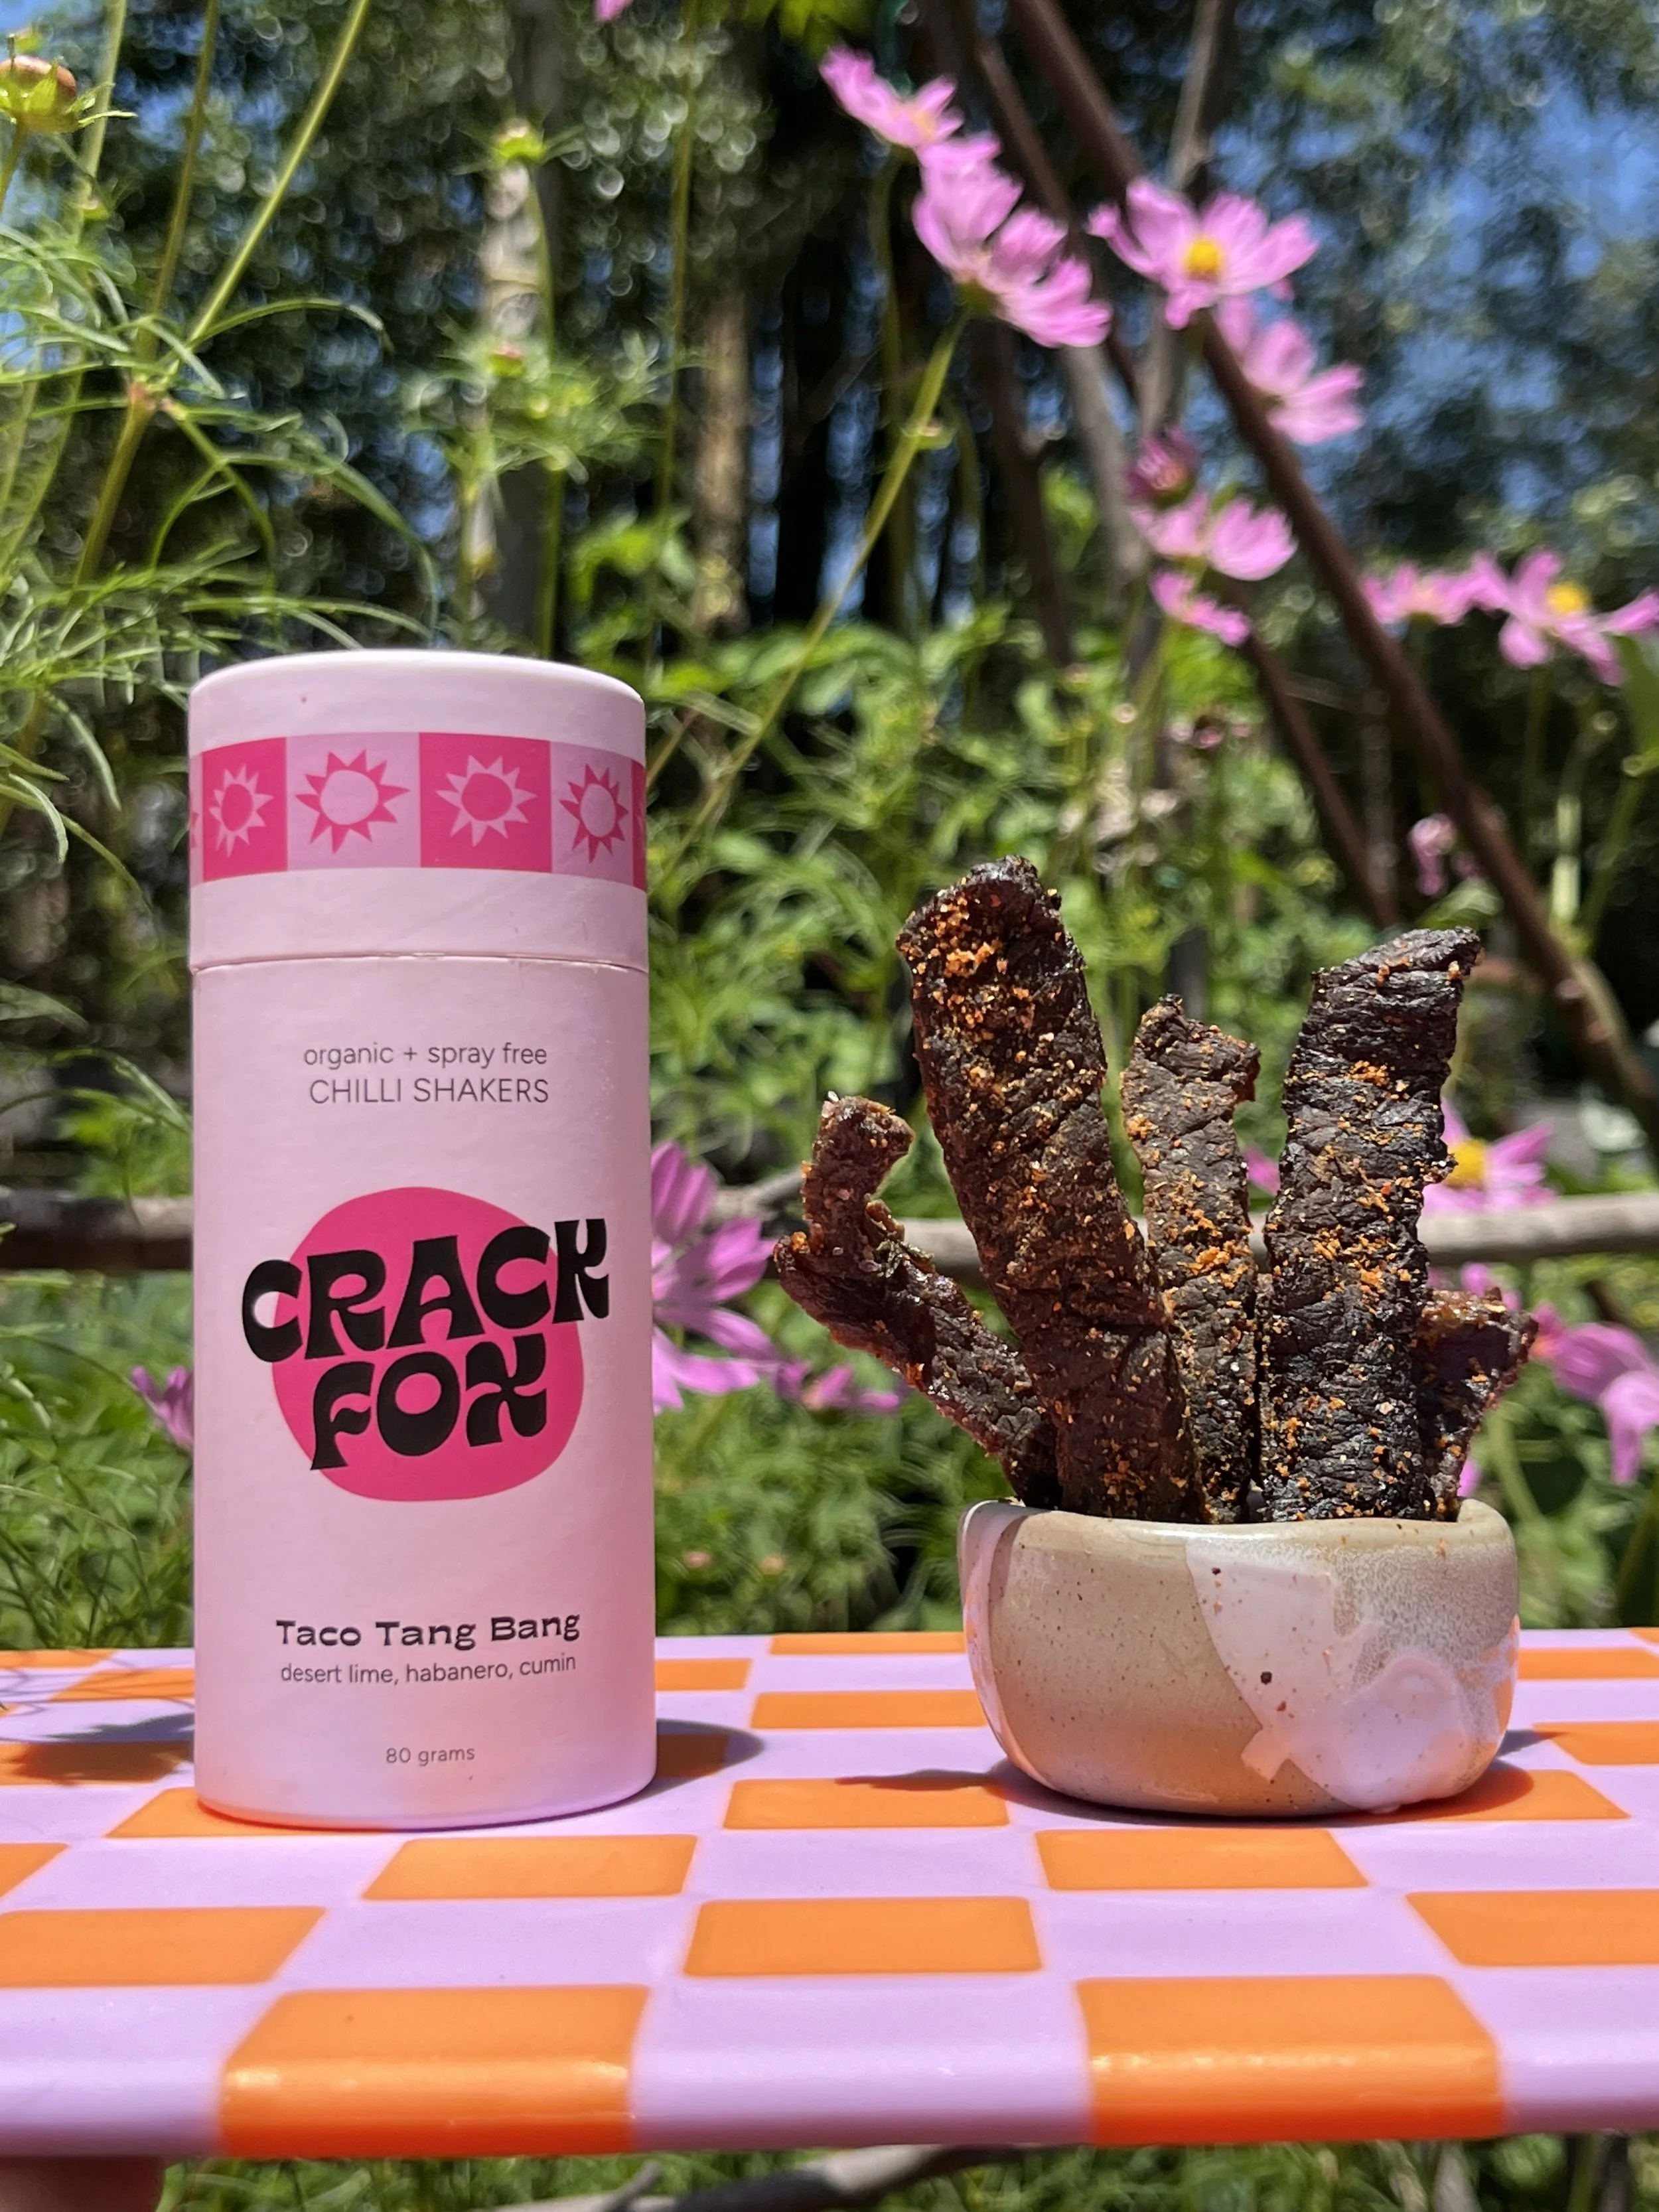
The greatest weapon out there for the perfect Jerky however, without a doubt are our Chilli Shakers! They are a one stop shop for heat, flavour, zing, salt, and even sweetness. You can also use our Hot Sauce in your marinade. I use both if I want super spicy!
MY HOT TIPS FOR GREAT JERKY
TENDERISATION - use honey! Not just a great refined sugar-free option for sweetness, but honey is a natural meat tenderiser. The enzymes in it break down the tough muscle fibres in meat.
BEST CUTS - my preference is flank. Topside is my next preference. I get my local butcher to cut it into thin strips for me to save on time.
AGAINST THE GRAIN - cutting the strips in this way leads to more tender jerky.
BEST CHILLI SHAKER FOR KID FRIENDLY JERKY - Taco Tang Bang. It’s medium heat so suitable for the whole fam, I use about 1tbsp in the actual marinate when cooking it for the family, but go to town with the Chilli Shaker on half the jerky before the oven. That way half of half can be mild for the kids, and the other half can hit the spicy-spot for the grown ups. The little bits of Taco Tang Bang on top of the Jerky remind me of Dorito seasoning!
BEST CHILLI SHAKER FOR SPICY JERKY - Kentucky Fox Crack . Add hot sauce in too for ultimate heat.
MAKE BULK - Jerky lasts ages (I store it in the fridge) so like to make it in bulk. I can fit 3kg (pre dry) of it in my oven - so that’s the quantity I make.
Beef Jerky
INGREDIENTS
1kg beef flank or topside, cut into strips (25mm wide/ 5mm thick)
1/4 cup soy sauce
1 tbsp smoked paprika
1 tbsp salt
1 tsp black pepper
2 tbsp Worcestershire sauce
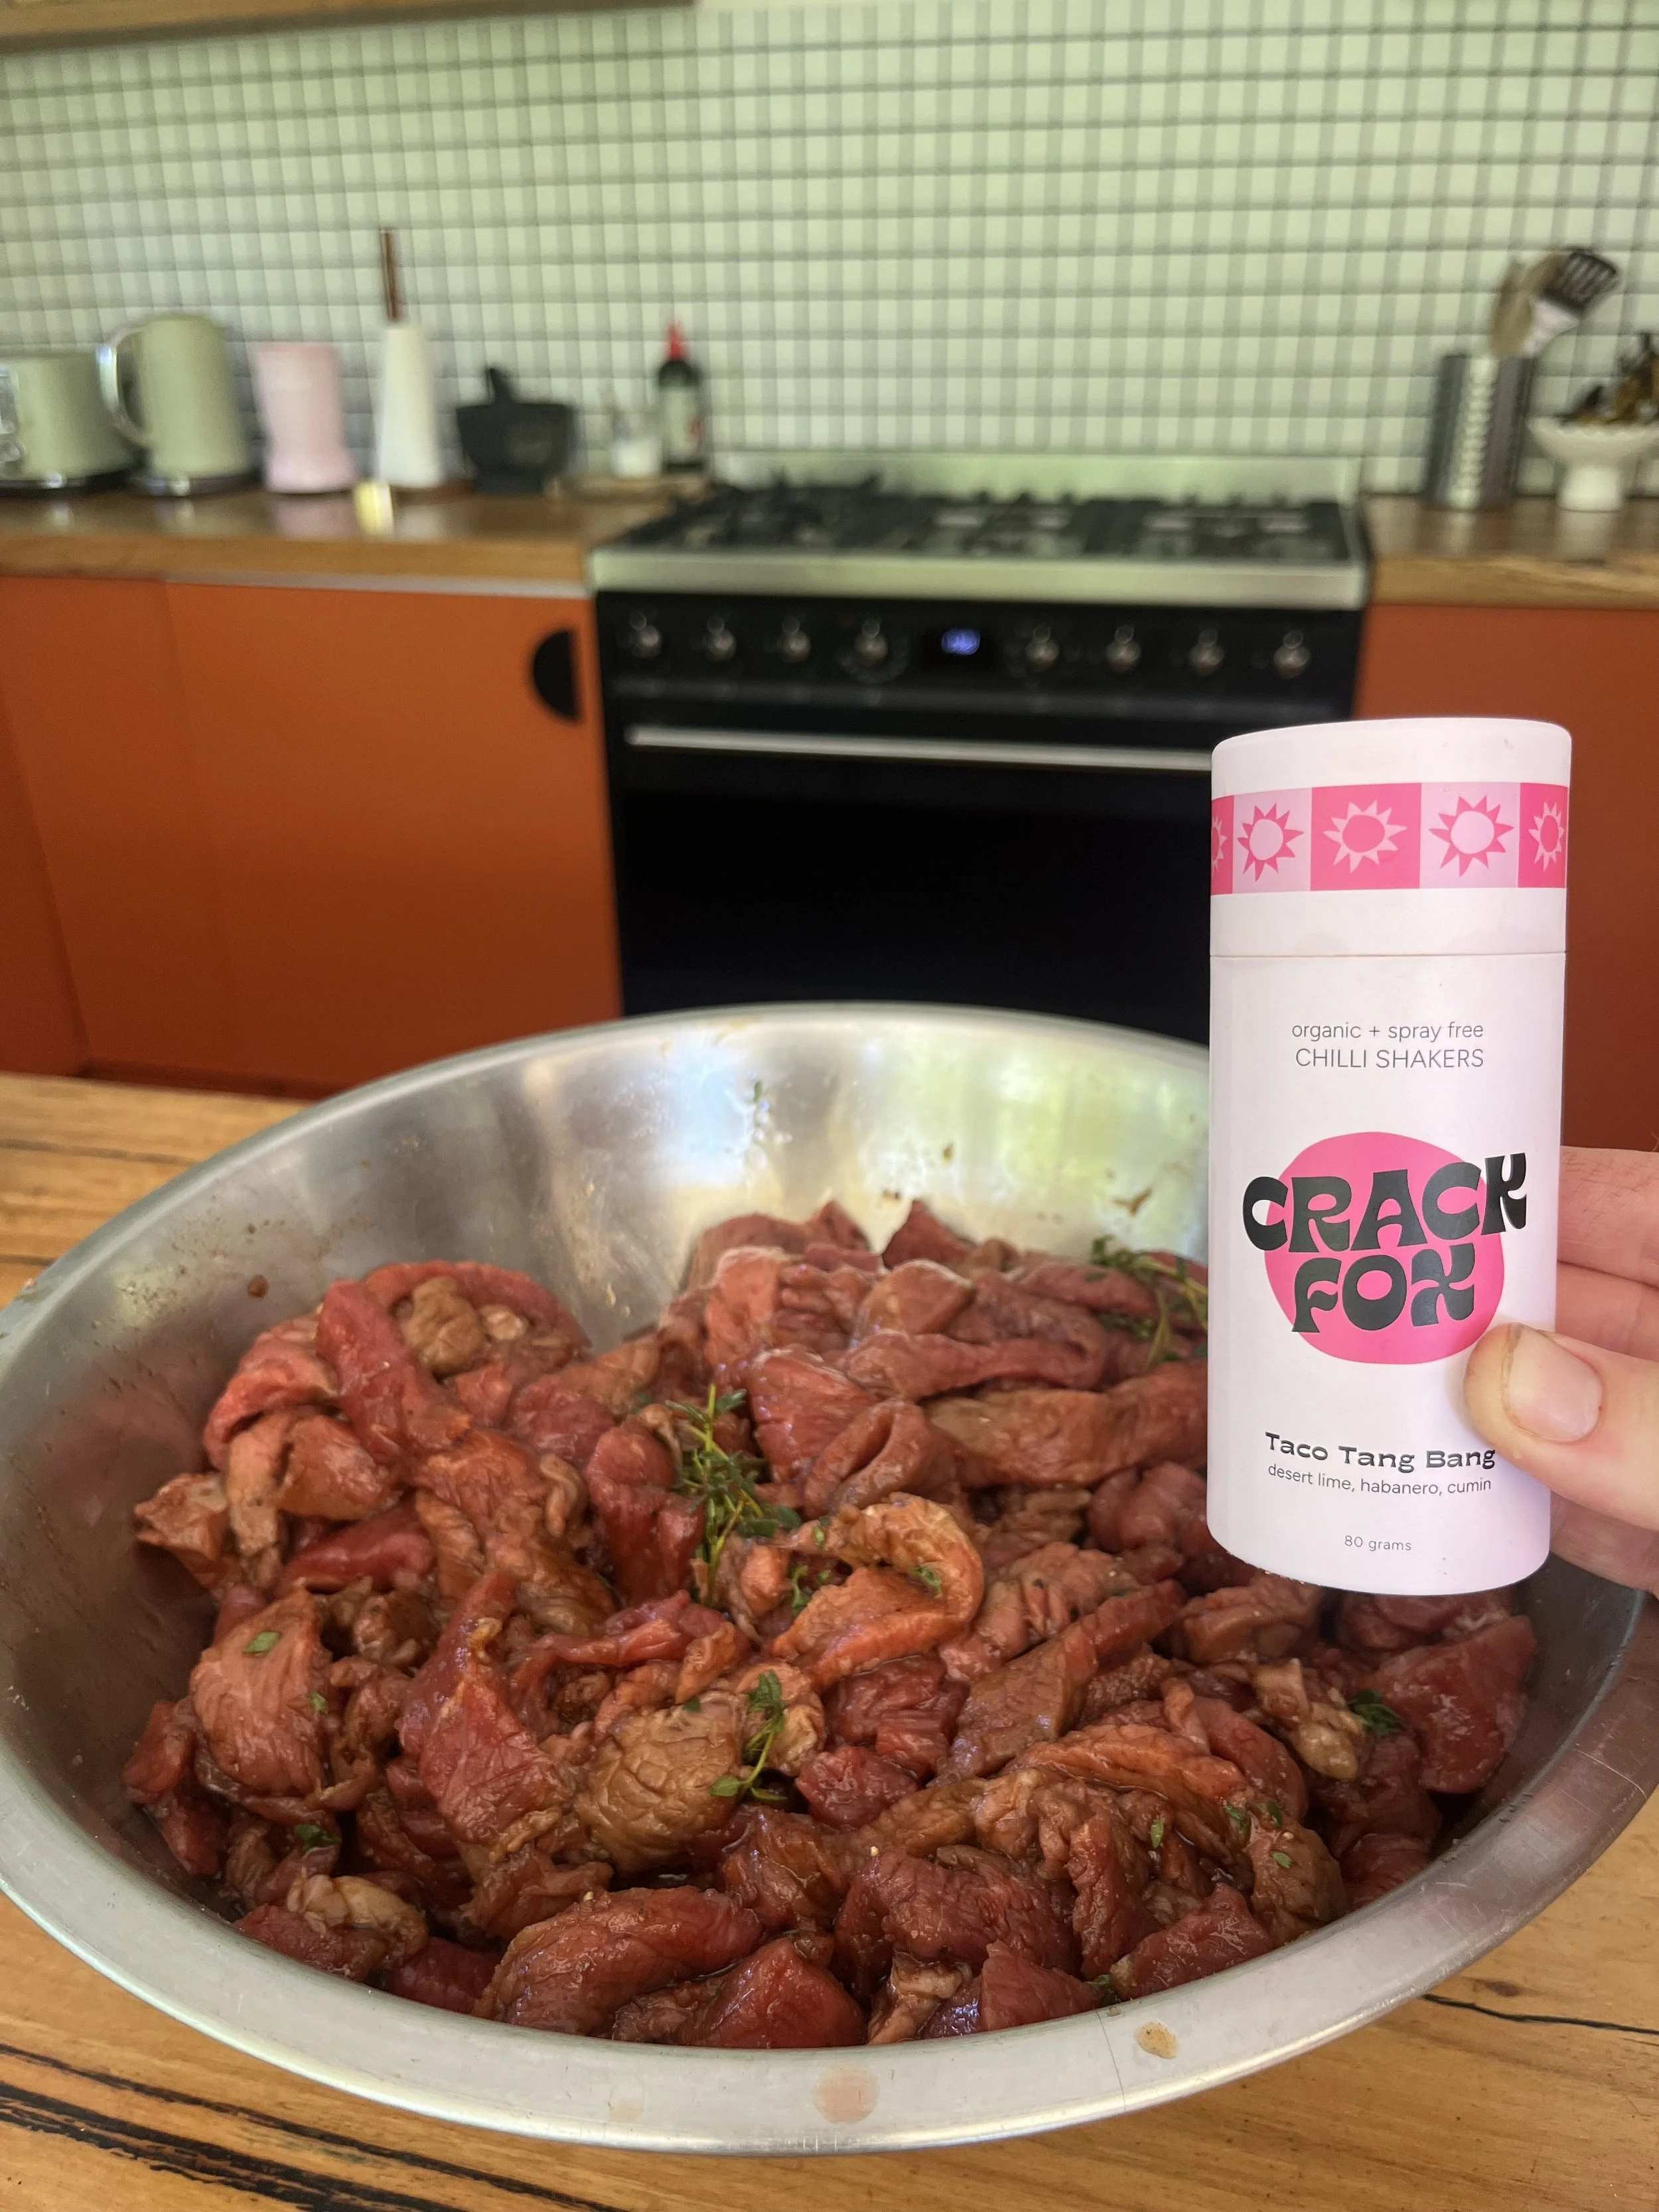
1 tbsp Taco Tang Bang Chilli Shaker
1 clove garlic, grated
A few sprigs of fresh thyme
2 tbsp honey
METHOD
Make your marinade by adding everything but the beef together and giving it a good whisk. Taste it, tweak it. Like a good salad dressing you want it to be more salty and tangy than you usually like as it will dissipate alot once added.
Once your marinade tastes epic, mix it with your beef in a large bowl. I like to use my hands and really massage it into the meat.
Pop it in a container, put baking paper on top and squish it down so the marinate submerges the meat. Lid on, then put it in the fridge for 24 hours. I like to give it at least one mix during that time so everything is evening marinated.
Preheat your oven to 70c.
Arrange your marinated meat strips along baking racks. You can put them close to each other as they will get smaller as they dry out — just not on top of one another. You can do this on a tray rather than a rack but you’ll just have to keep turning your beef throughout dehydrating it. With a rack you don’t have to as the air circulates.
Pop your racks in the oven. Set a timer for 5 hours time. Keep checking every hour. Depending on what oven you have they might be ready at the 4 hour mark. They will darken as they dehydrate, but they shouldn’t char or get too much of that cooked colour. If they are, turn the oven down.
They are ready when you can bend them in half and they basically snap, minus a few fibres.
Store them in a jar in the fridge and snack to your heart’s content! They can be left in the pantry, but because I’m an anxious mum I like to stay on the side of caution.